Showing posts with label Photography. Show all posts

Wednesday, February 11, 2009

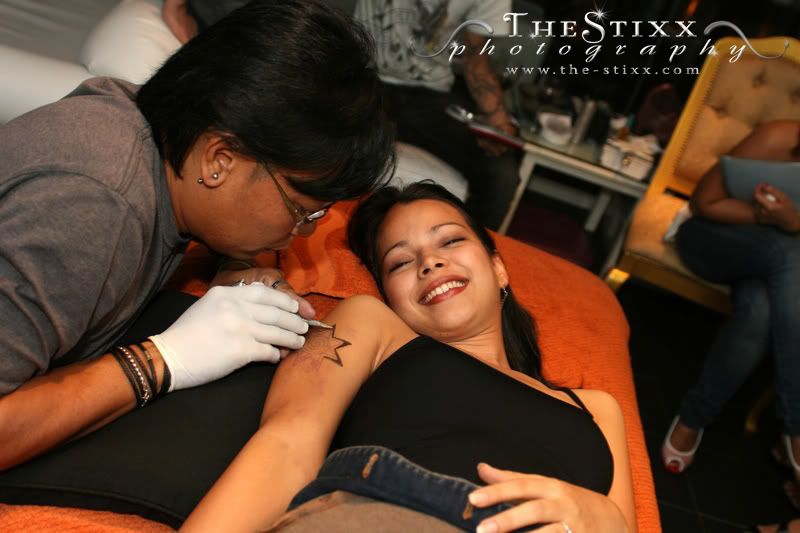
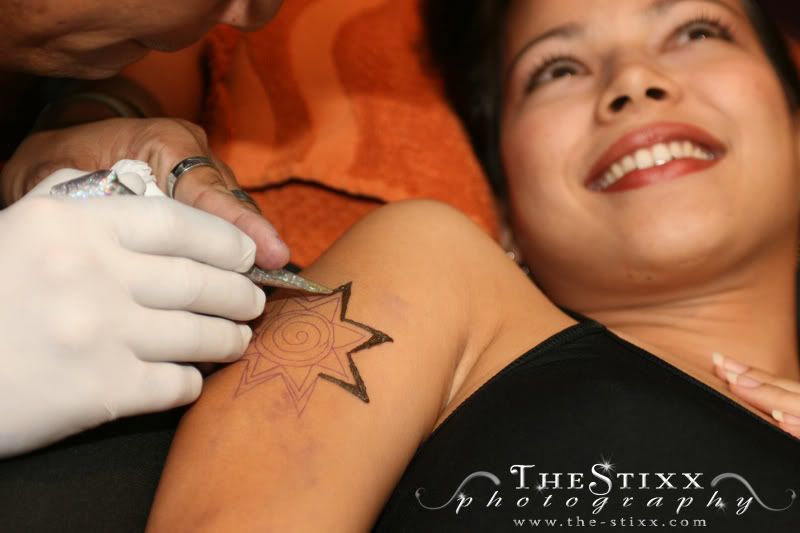
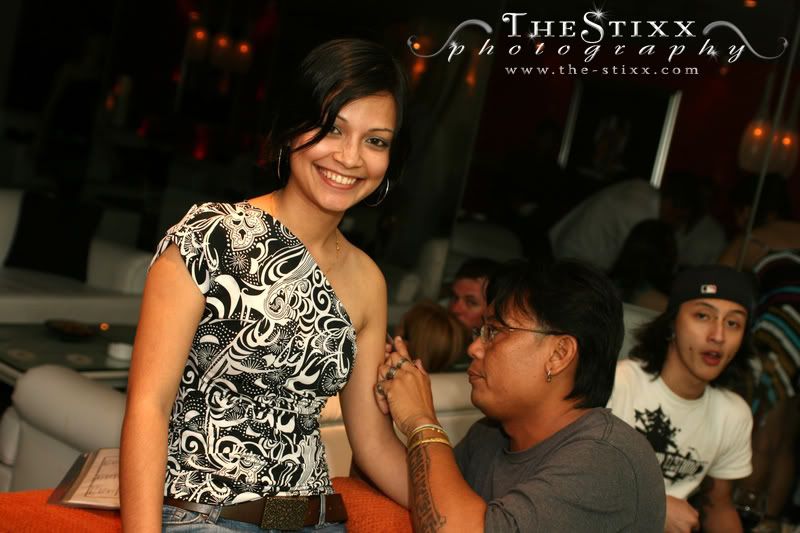
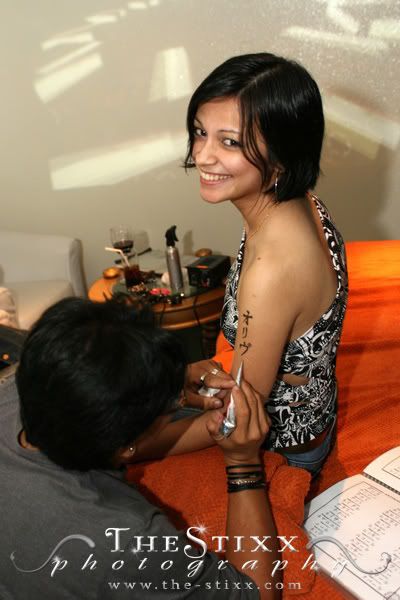
TATTOO THURSDAYS @ BLUE NOTE - SHOT 5th FEB 2009

So here's some shots of what has been going on at Blue Note so far for the new year.


Monday, February 9, 2009

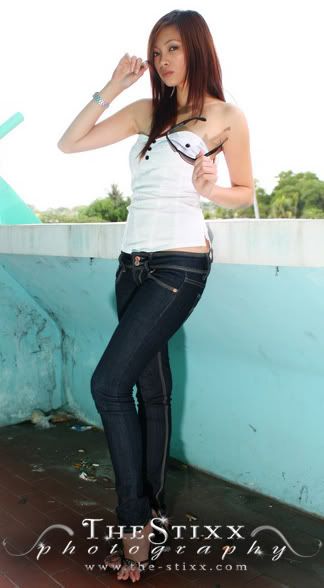
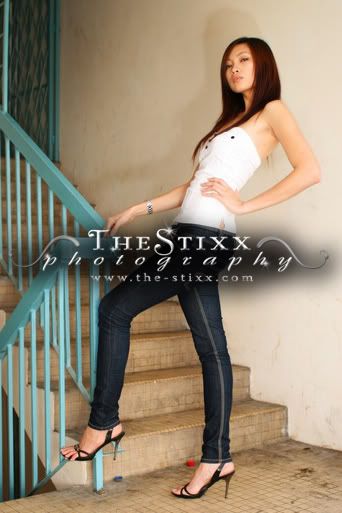
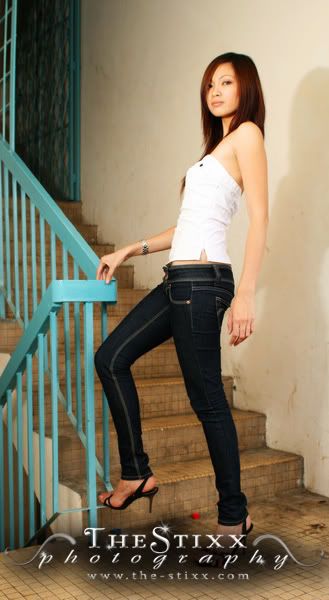
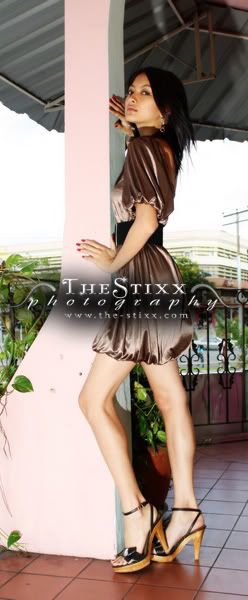
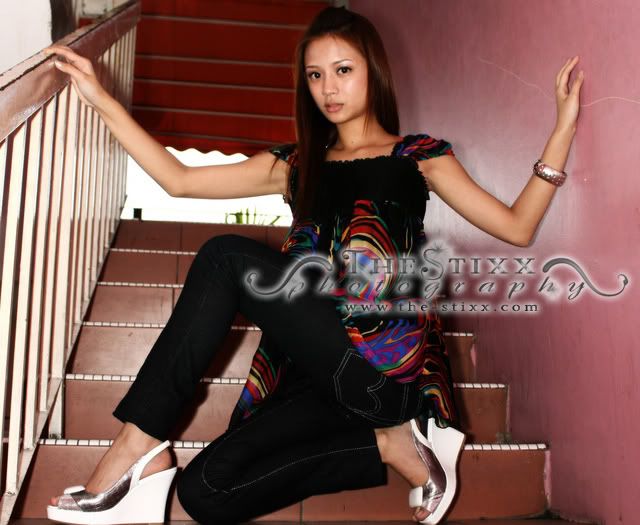
QUICK 5 MINUTES MODEL SHOOT - 8TH FEB 2009

These are shots done up so quickly, that you could even cook 2 packets of instant noodles. Approximately 5 minutes each was used to shoot these 3 gorgeous ladies. Thank goodness they had makeup on.

MANDY


MADONNA


YVONNE


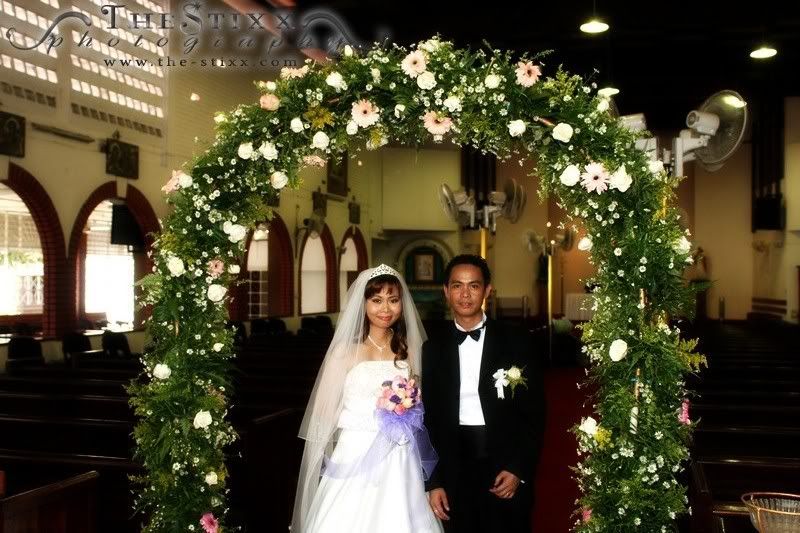
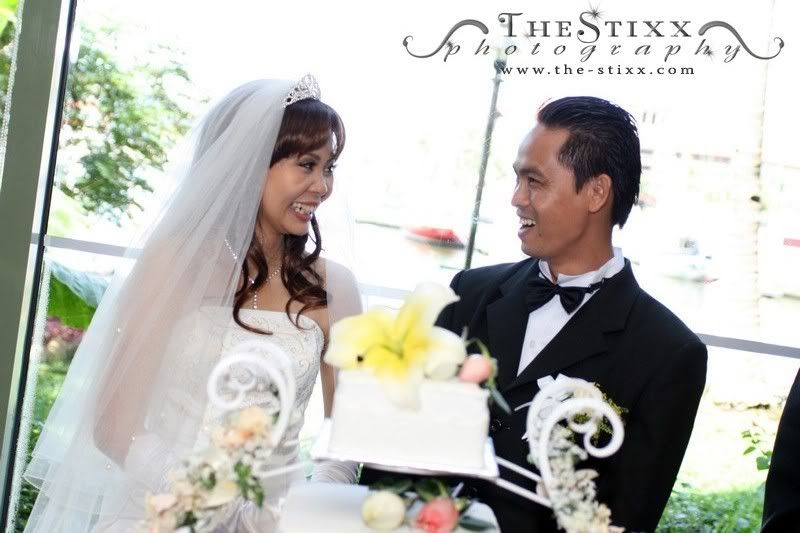
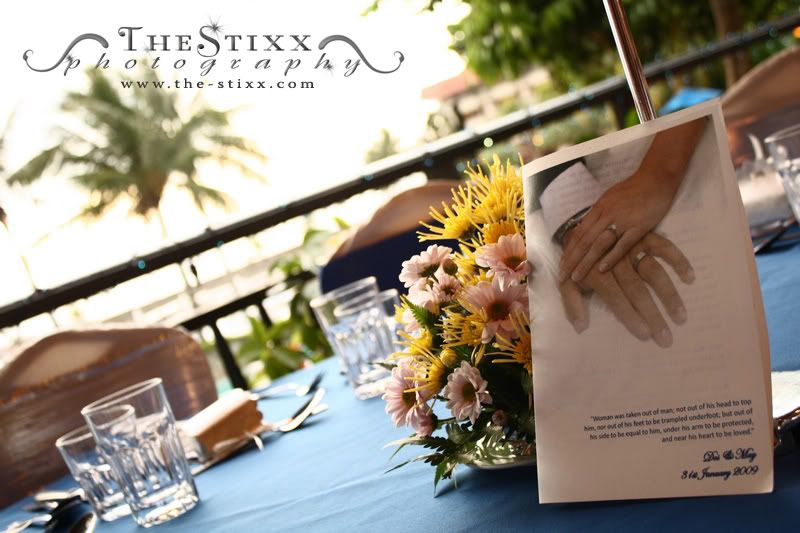
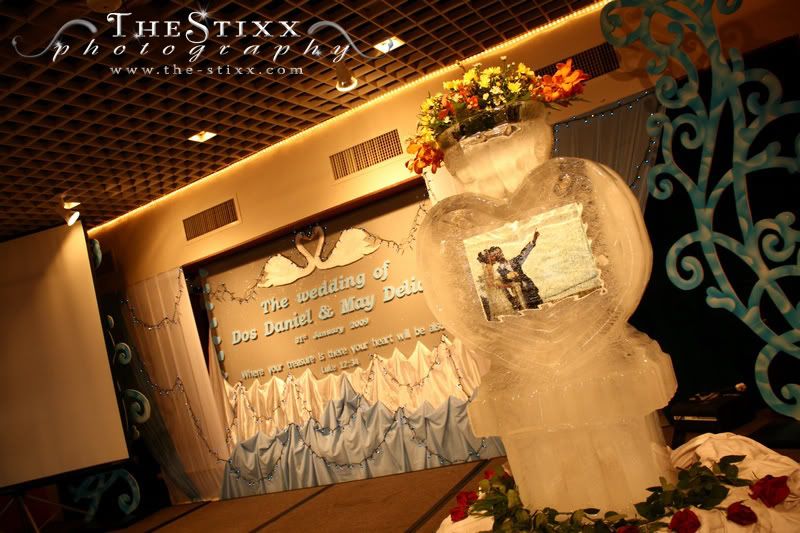
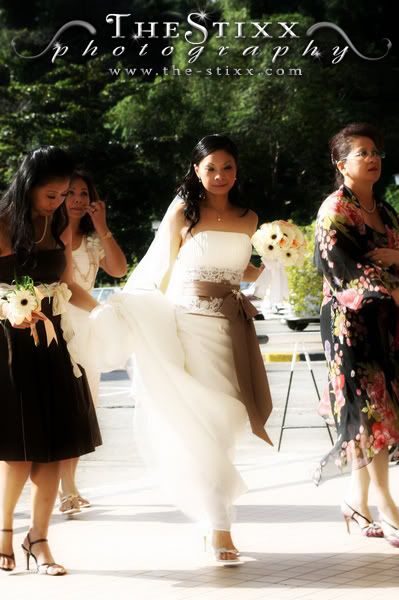
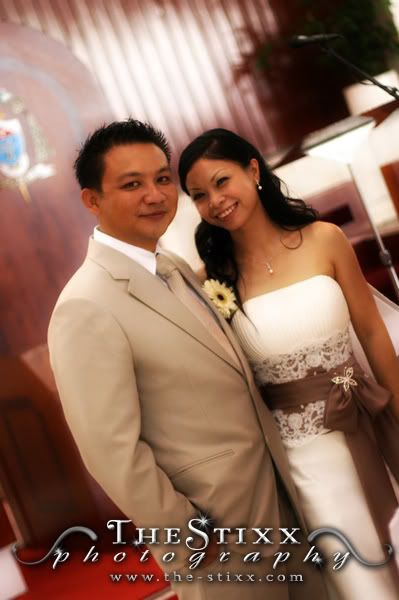
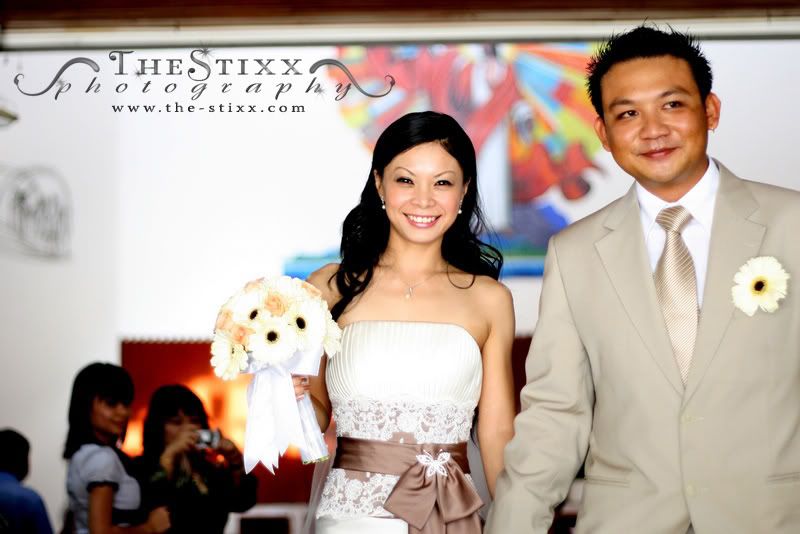
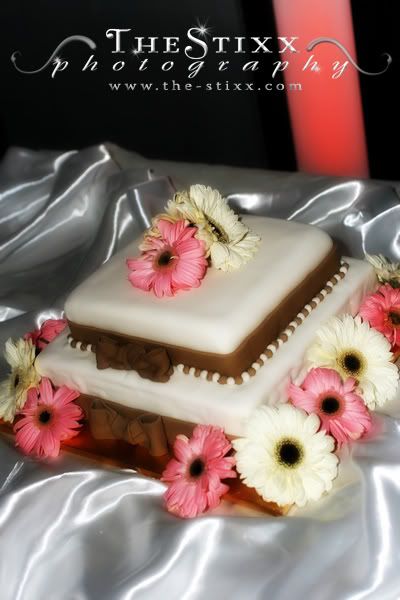
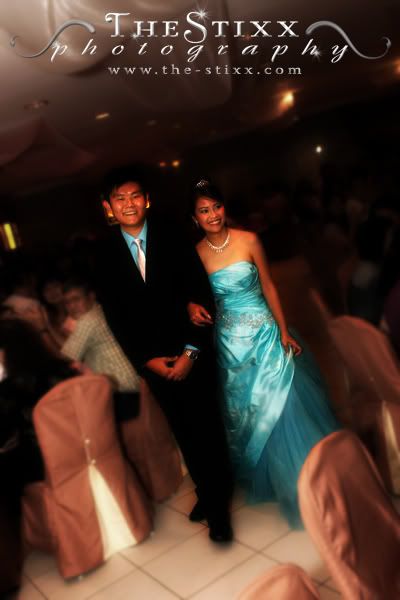
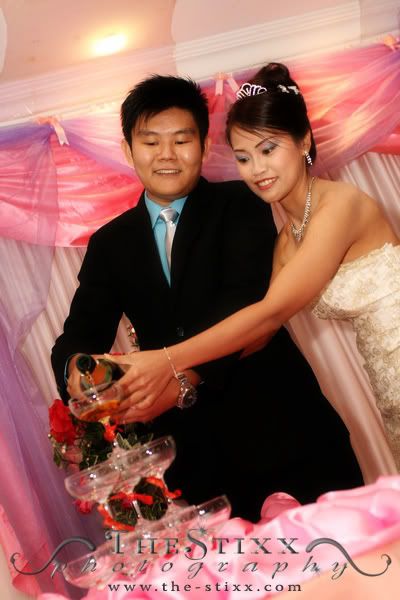
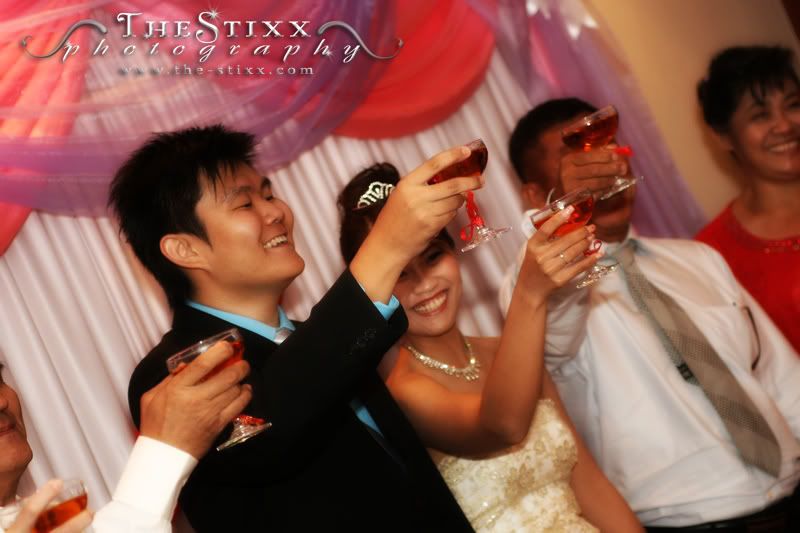
May & Dos - Wedding Ceremony & Reception

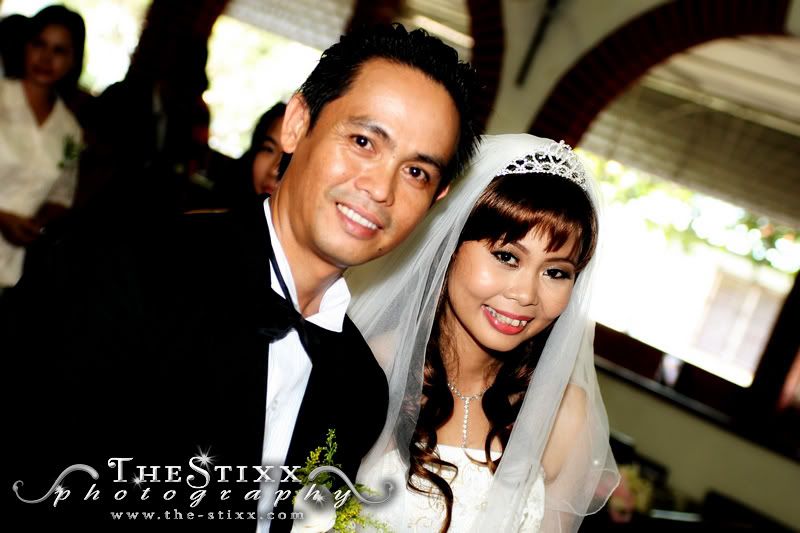
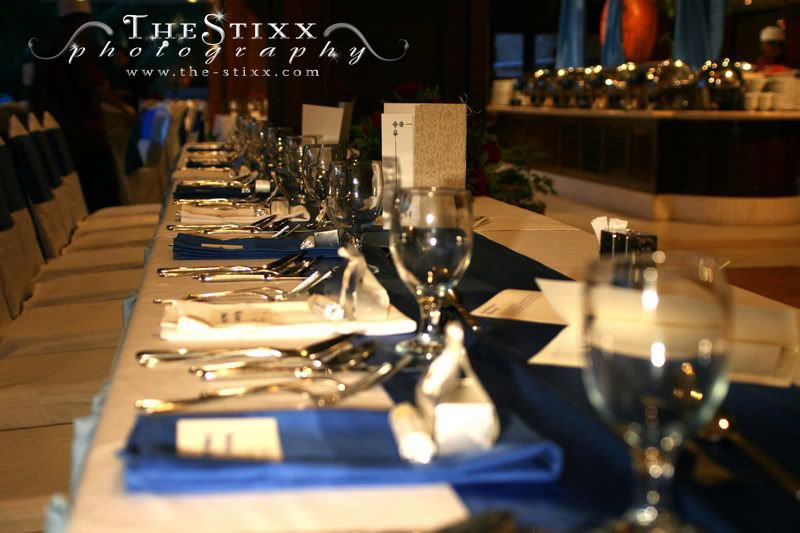
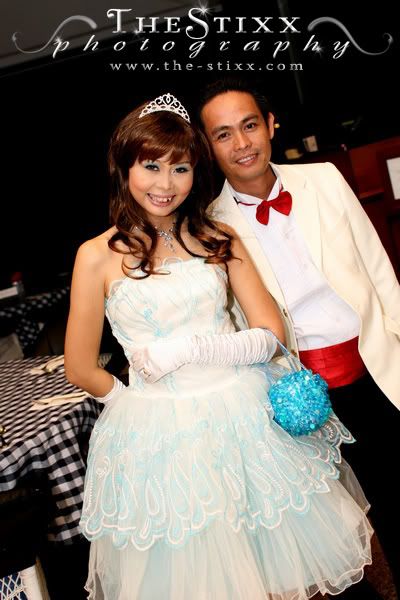
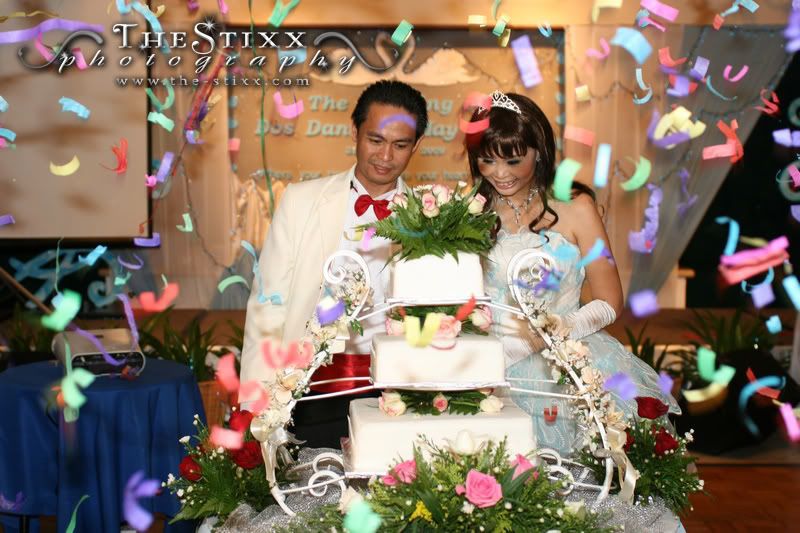
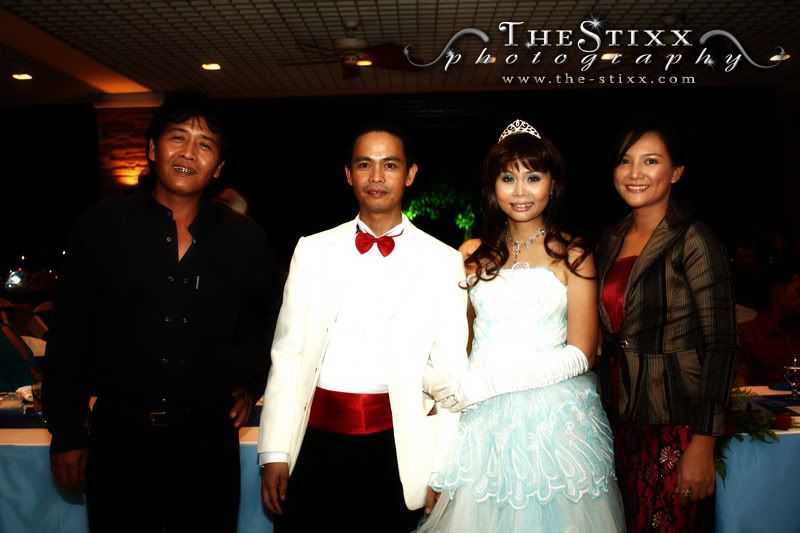
May & Dos - Wedding Ceremony (30th January 2009, Stella Maris Catholic Church) & Wedding Reception (31st January 2009, Marina Cafe - Sutera Harbour Marina)


Kimin Mudin, Dos, May, Clarice John Matha


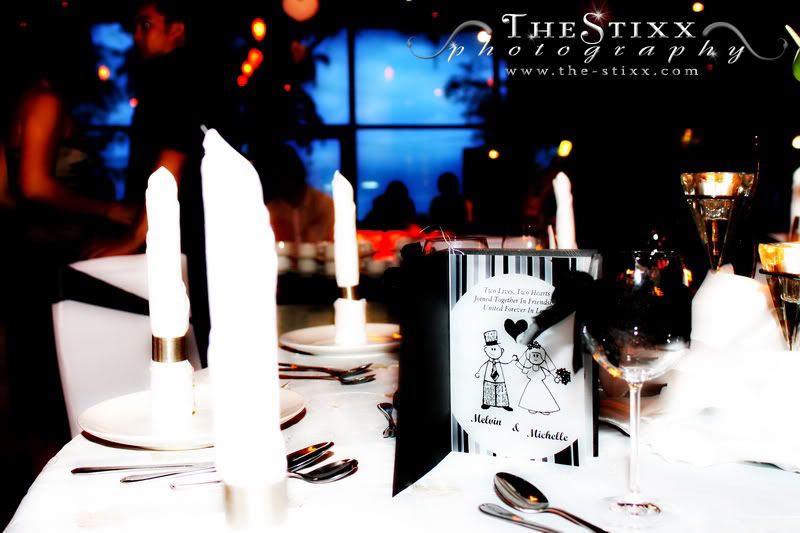
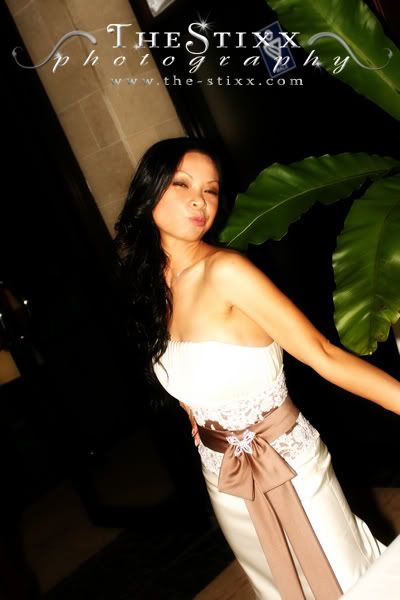
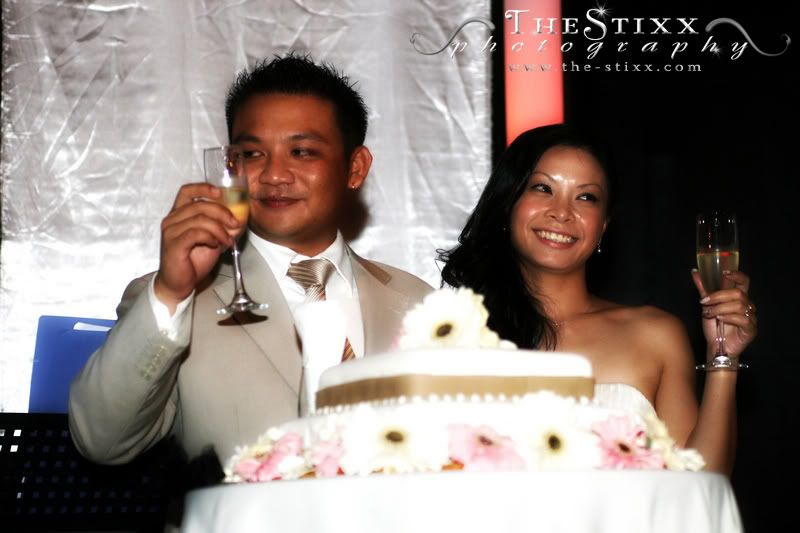
Michelle Mosom & Melvin Sikayun - Wedding Ceremony & Reception

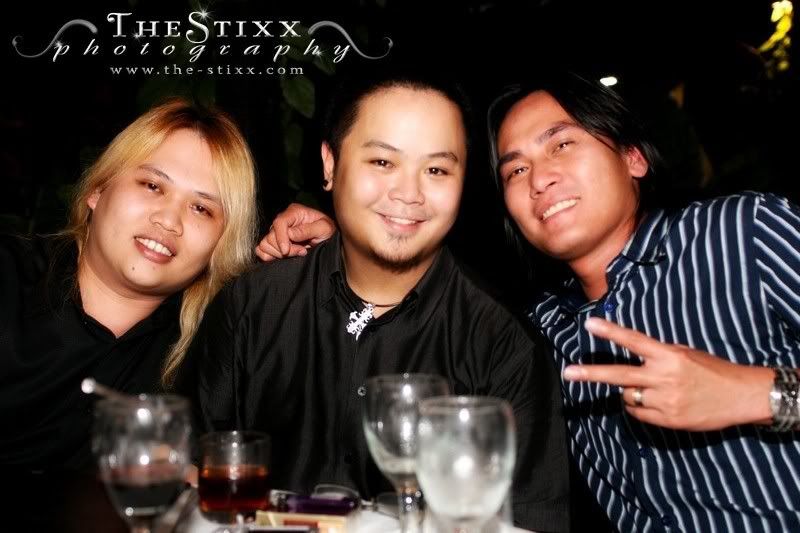
Michelle & Melvin - Wedding Ceremony (16th January 2009, Sacred Heart Cathedral) & Wedding Reception (24th January 2009, Mediterranean Bar - Tg. Aru)


1st January 2009 Shoot - Dede & Bede - Beautiful Engagement

Daphne & Bede - 1st January 2009 - A Wonderful Start to Their New Year


December Shoot

Joyce and Jacky - 28th December 2008 (Mayflower Restaurant)

Tuesday, December 23, 2008

Quick and Simple to Adapt Photography Tips

Here are some rituals that I do before having a snap (whether it's a quick shot or a calculated one).
  1. Adjust Perspective/Composition: So you keep hearing pros telling you to learn to shoot at eye level. Why don't you start experimenting on different angles from now on. Try a shot from a low angle pointing upwards directing at your friend's face. See the effect it makes? Shooting from a low angle provides an essence of greatness or power of the subject. Now try aiming from a high angle pointing the lens onto a small village girl somewhere in Cambodia. If the girl is showing a frown, you might just achieve a sad story from the her facial expression.

    Another law that the experts keeps telling you is to follow the rule of thirds. You've been good thus far in following that order. Now be a rebel and break that rule. Try to frame your subject/object onto the right side or left side instead of plain old center shots. You would probably get an amazing outcome. No harm in trying.

  2. Lighting Judgements: This is the most crucial part in the art of photography. Even when shooting in black and white. Firstly, pick up that DSLR Manual book of yours. Read through the buttons, study what's what on your camera. Second, look at the surroundings of your desired shot. Is it bright? Are there light source in different areas of your subject/object. If there isnt enough light, compensate by using a better lower f-stop lens. Or simply use the flash gun. Even better, achieve different version of shots by using an off-shoe flash. If you're shooting a landscape, a tripod is a must. Otherwise expect some blurryness. No one can perfectly teach others in lighting judgement. You'll have to study your camera firsthand and once you've mastered it, you should be well on your way towards greatness.

  3. Framing: Test your framing before you take a shot. Move your lens around to see what's the best angle or framing to take. If you can't decide, take a few shots of the same subject/object and move around with each shots. Don't get stuck by shooting everything centered.

  4. And lastly....Deep breath and Hold your camera steady, focus and snap!

General and Quick Photo Editing Tips

I've been told not once, not twice but numerous times (even by photography experts) that any image that has been edited is no longer eligible to be called a photograph. I can't say that I agree nor disagree with this comment because I still edit some of my images. The only problem with this type of remarks is that DSLRs or even Digital PnS Cameras works, as the name calls it, Digitally. We can't rely on electronic forms purely, so needless to say, the only way around to a perfect shot is to post-process it. Big shot magazines does it, professional portraitures does it, so why is it that editing is a taboo again?

Furthermore, look at the way images were processed in the old times. Obviously they did not have computers or photoshop to be used as an editing mechanism, but that did not stop them from editing their raw material. The process of exposure adjustments was the most notable act of editing. I rest my case. :p

Anyways, I'd love to share some tips on basic photo editing techniques. Here are 3 basic principles that I have adapted throughout my journey behind the lens, plus they're all quick jobs.

  1. Exposure Level Adjustments : The most common issue in photography is the exposure level. A lot of factors can throw us off in regards to exposure judgement when we shoot outdoors or indoors, for example, the brightness of the sun can disrupt our accuracy in judging whether the picture taken was underexposed or overexposed when looking straight at the camera's LCD.

    Solution before editing - All DSLRs have exposure monitors (you'll have to refer to your manual for the button). Judge the levels by looking at the histogram. If it's not balanced, then shoot again.

    If this fails, do not worry. Open up photo editing softwares like Photoshop or GIMP (Free to Download). Open your image that you want to edit. Depending on the softwares, find 'Levels Adjustments'. Fiddle with the sliders and adjust as needed. It normally looks like a histogram, yes just like the one on your DSLR, and it will show you the original levels initially. You'll find your image to be more beautiful as you adjust the brightness.

  2. Color Balancing Adjustments: Sometimes your image turns out redish or greenish or blueish. That's a colorg balancing matter. It normally generated by a wrong judgement of white balancing within your camera's settings.
    All DSLRs have a white balancing function and most digital PnS cameras has it as well. Have a go at different balancing and see the difference it makes to the image.

    Using any photo editing softwares, you are able to change the color balance of the image to suit your desired effect. It will normally be the 'Color Balance' function in these softwares.

  3. Symmetrical Straightening Adjustments : Another mistake we all do is picture framing. If you later realise that your shot is crooked on one side, easiest way to adjust that is to make the appropriate selection on the image and rotate it until it is straight. Then, crop out the unwanted areas.
So there you go. 3 simple and quick ways to make your images stand out better.
Friday, November 21, 2008

Photography Competition in Sabah


Looks like photography in Sabah is getting what it deserves. A new competition called "Simply The Best Shots of Sabah 2008" is currently ongoing. Jointly organised by the Tourism and Youth Ministries and SPPS (Sabah Professional Photographers' Society), total cash prizes equates to RM25K.

Grab your SLR/DLSR/PNS, and start shooting people.

Deadline is in January 2009. More info at http://www.sabah.gov.my/kkbs/.


(I wonder why Canon or Nikon wasn't called for sponsorships...hmmm..oh well)
Bookmark and Share